
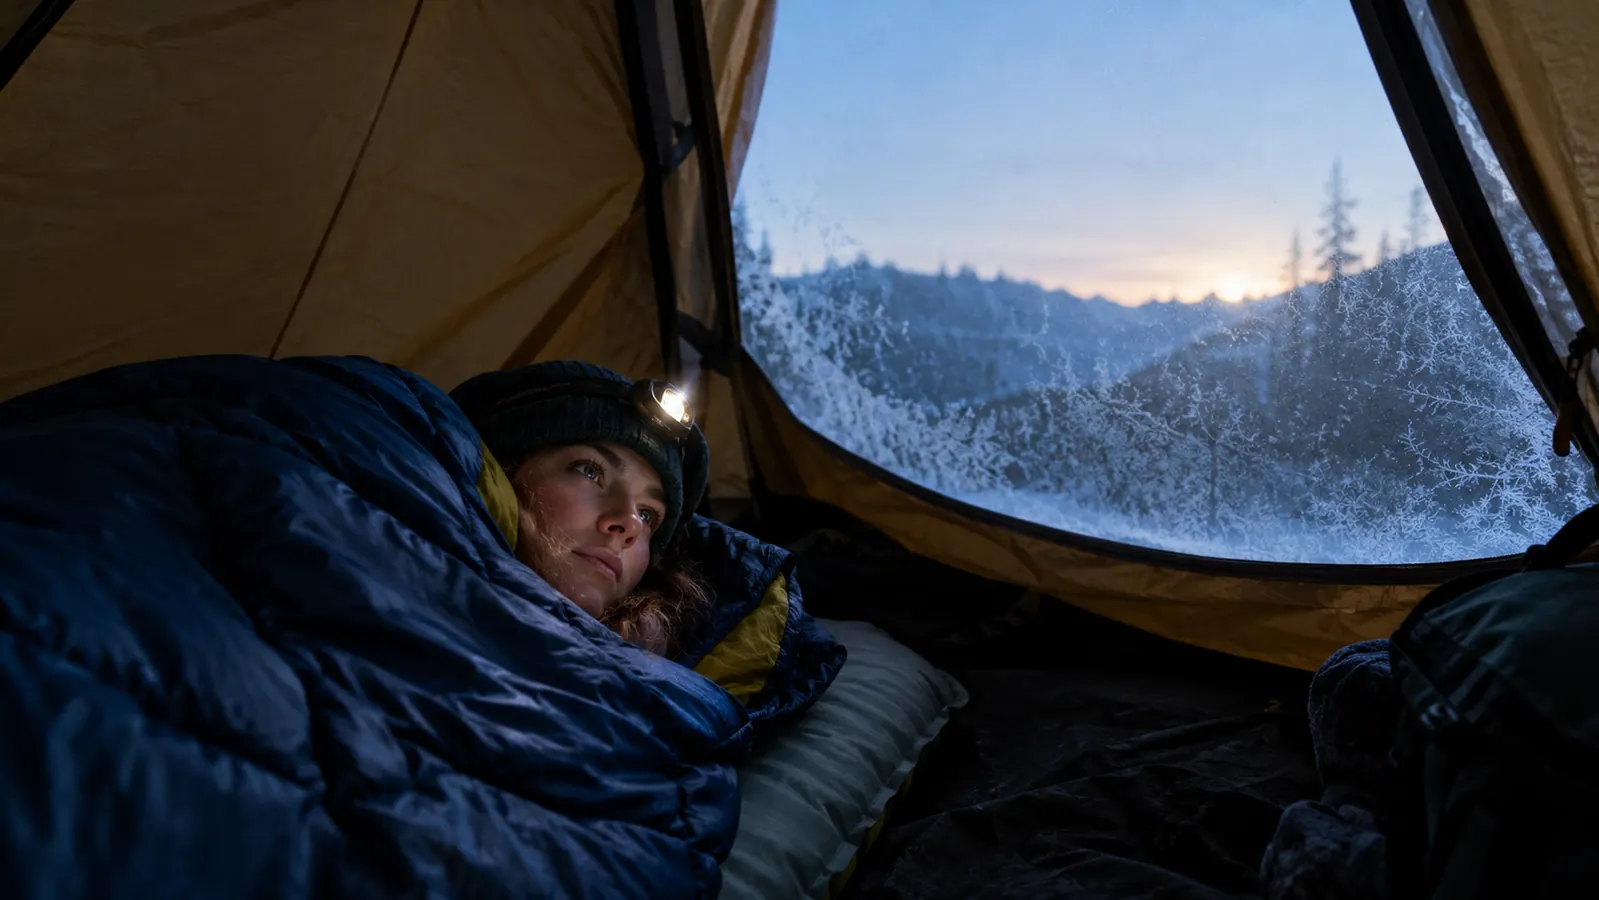
There is a real difference between a sleeping bag that keeps you alive at 20 degrees and one that actually lets you sleep at 20 degrees, and that difference is bigger than the number on the tag suggests. I have camped in the Cascades and the high desert east of Bend for 30 years, and the cold nights that ruined my sleep almost always came down to setup, not the bag itself. The bag is half the answer. What is under you, what you wear inside it, where the drafts get in, and how much moisture you carry into the sack is the other half, and every bit of that is fixable tonight with gear you probably already own. That is the part that took me years to learn, and it is the reason I still see people in good bags shivering at 3 a.m. while the person beside them sleeps.
This guide is the exact order I use every season with the JEAOUIA cold weather bag I have slept in for the past three years. It is what I grab when Dana and I load the 2013 4Runner from May through October, and it has handled snow into June at elevation and 30-degree nights in September without complaint. The steps work for any cold weather bag, so if yours is a different brand, keep reading. The sequence matters more than the gear, and it is a short sequence. Do these five things and the rating on the tag finally means what you thought it meant.
Start with a bag that holds its rating
Every step below is easier when the bag does what the tag says. The JEAOUIA cold weather bag has been my baseline for three seasons, and it packs down small with the compression sacks it ships with. If you are shopping right now, this is the one I would check first.
Amazon Check Today's Price on Amazon →Step 1: Read the rating like a weather report, not a promise
Here is the part nobody prints on the box. A cold weather rating is usually the survival limit, the temperature at which you will not freeze to death, not the temperature at which you will be comfortable. The comfort number, where an average sleeper rests through the night, is typically ten to fifteen degrees warmer than the number on the tag. So a bag that says 20 usually means you survive 20, and you sleep comfortably closer to 30. The industry tests for both numbers, and the tag almost always shows the lower one because it looks better on the shelf.
That is not a flaw in the bag. It is how the numbers work, and it is the same for every brand I have owned in three decades. The fix is simple. Figure out the coldest night you honestly plan to face, then look for a bag rated ten to fifteen degrees below that, or plan to add the layers in the steps below. If September nights in the high desert hit 30, you want a rating in the teens or lower. If you are a cold sleeper, and a lot of people are, subtract a few more degrees from your comfort number before you decide.
With the JEAOUIA bag, I treat the tag the same way I treat any of them. I look at the coldest number in the forecast, I add my margin, and I let the rest of the setup carry the difference. The bag has been reliable for me, but no bag fixes a bad setup, so I never expect the rating to do the whole job alone. If a bag looked warm and the night went cold, the problem was usually me, not the bag.
Step 2: Put the pad under you before you blame the bag
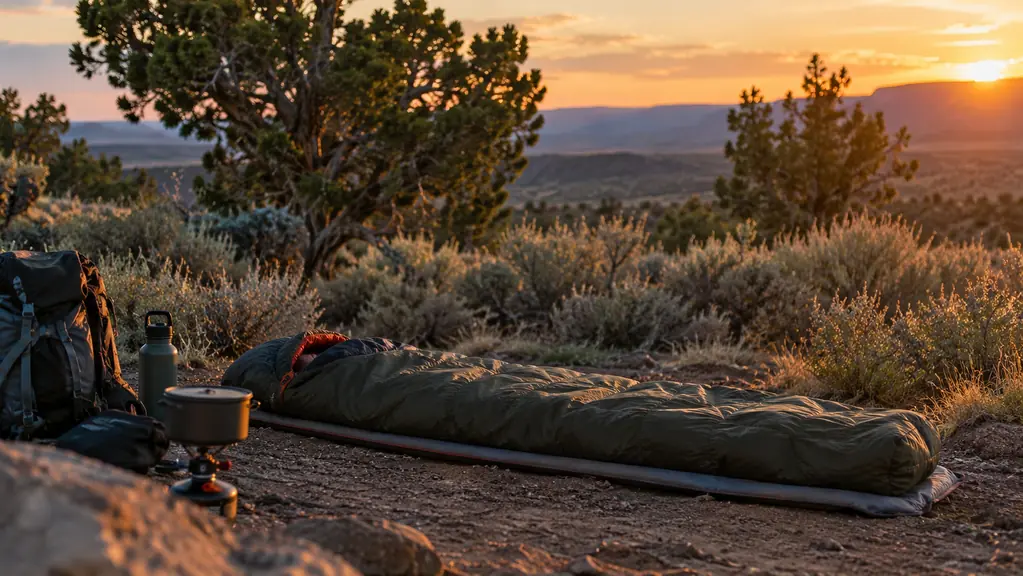
The ground is a heat sink. It pulls warmth out of you faster than the air on top, and a sleeping bag does almost nothing to insulate the side you are lying on, because your body weight flattens the loft there. This is the step most people get wrong first. A cheap closed-cell foam pad might rate around R-2, while a decent air pad runs R-4 or better, and that gap is the difference between a comfortable night and a miserable one. On a cold night, a thin pad will steal more heat than the bag can put back.
My rule after three decades of cold nights is that the pad under me matters more than the bag over me. For the coldest trips I layer two pads: a closed-cell foam pad on the ground to protect against punctures, and an air pad on top of it for comfort and loft. Dana does the same when the forecast is cold. If you sleep on a cot, put a blanket or an extra pad under you, because moving air underneath a cot pulls heat away just as fast as bare ground. The cot keeps you off the dirt, but it does not keep you warm.
If you only change one thing this season, make it this. Check the R-value of what you sleep on before you upgrade the bag. I have spent uncomfortable nights in a good bag on a thin pad, and I stopped repeating that mistake years ago. The ground takes heat in a way the air does not, and no amount of loft on top makes up for a cold back. Warm pads, warm night. It really is that direct.
Step 3: Dress for the bag, not the day
What you wear inside the bag matters as much as the bag. Cotton is the worst thing you can sleep in, because it holds moisture and stops insulating the moment it is damp. I wear a dry wool or synthetic baselayer, a pair of dry socks, a light beanie, and thin gloves on the coldest nights. Thin layers work because the bag traps heat between you and the loft. Bulky layers just compress the insulation against your body and leave cold spots where the air should be.
The part people miss is the change of clothes. The shirt you hiked in looks dry but carries sweat, and sweat inside a bag is a fast route to a cold night. I change into a completely dry set before I climb in, every single time, even when it feels wasteful. I also warm up before getting in, a few jumping jacks or a short walk around camp, so the bag is capturing heat I already have instead of starting from cold. A warm body going into a warm bag stays warm. A cold body going into a warm bag spends an hour catching up.
One more thing about layers: socks. I keep two pairs dry at night, one to sleep in and one to put on when I get up to pee, so my feet never go from warm to bare to wet. And I loosen the elastic on anything that feels tight at the ankle or wrist, because tight fabric cuts circulation and cold fingers and toes follow fast. Warmth travels on moving blood, so anything that slows it down costs you heat.
Step 4: Close off every draft
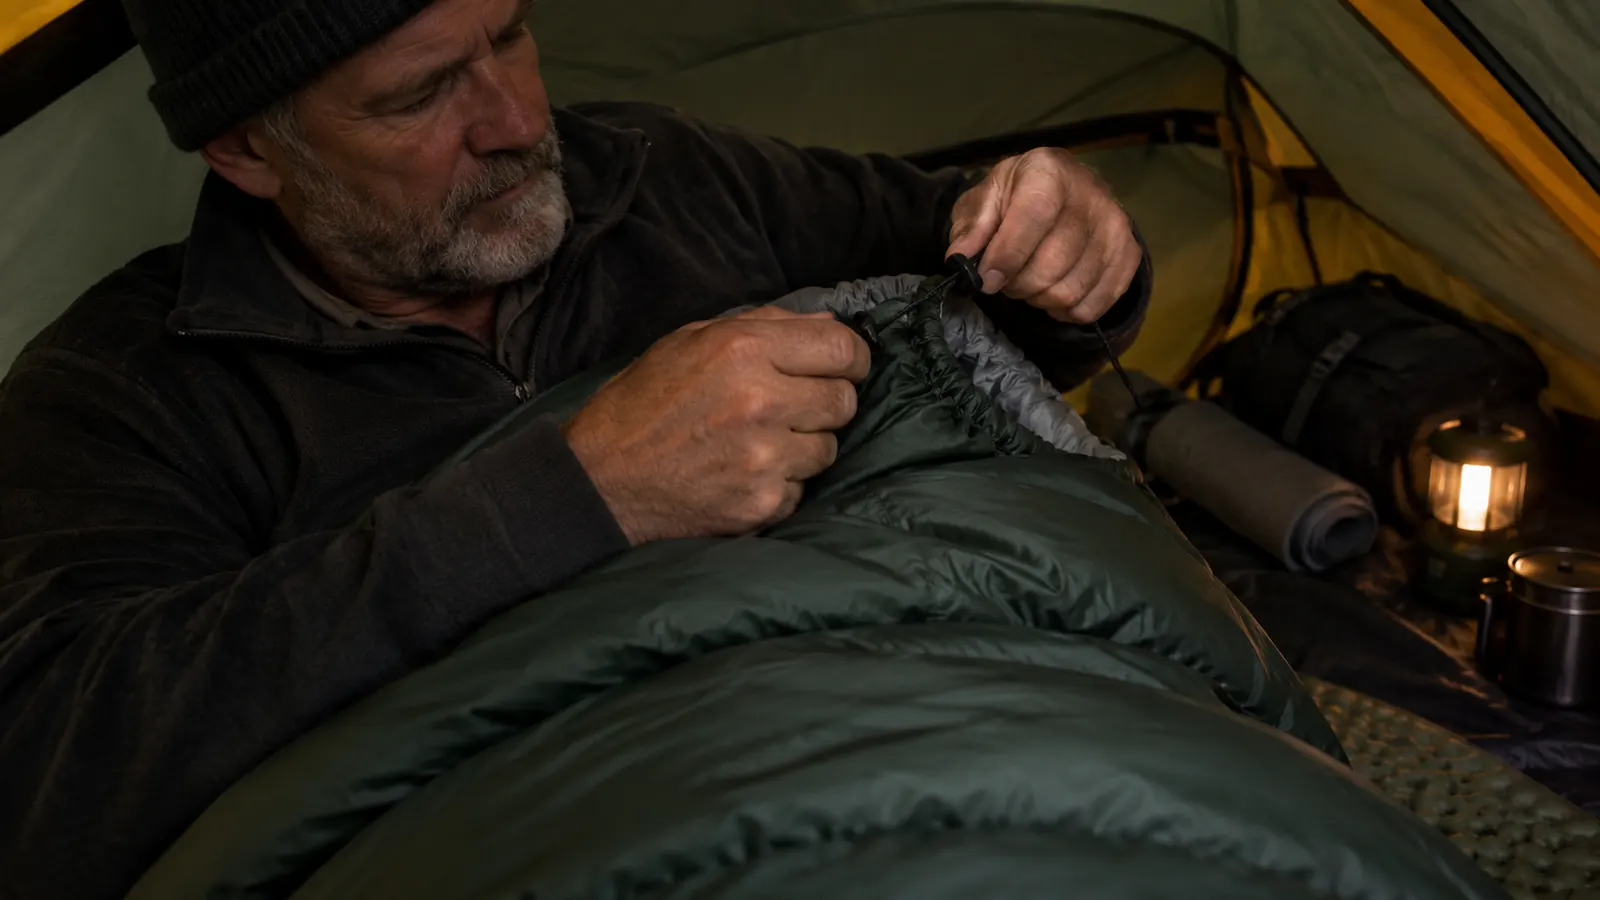
Most of the heat a sleeping bag loses goes out the neck, the shoulders, and the zipper. A good bag has a draft collar and a cinchable hood, and they only work if you use them. I cinch the hood around my face until just my nose and mouth are out, tuck the draft tube along the zipper under my body, and roll the shoulder opening shut if the bag has a collar there. It looks fussy, but it takes ten seconds and it stops the exact drafts that wake you at 3 a.m.
The zipper is the sneaky one. Half a foot of unzipped bag at the bottom lets a stream of cold air in all night, and you may never feel the moment it happens. I zip mine fully and then check the seal by running a hand along the draft tube. If cold air still finds me at the neck, I pull a buff or a light scarf over my face and tuck the edge into the collar. Ten seconds of fussing beats two hours of shivering, and I have done the shivering version enough times to know.
If your bag has no draft collar, do not assume you are out of luck. A thin fleece buff wrapped around your neck does the same job, and a folded towel across your shoulders under the bag opening works in a pinch. I have done both on nights when I forgot a piece of gear. The point is to stop the column of cold air that slides down your neck, and a few inches of fabric anywhere in that path fixes it.
Step 5: Keep the moisture out of the loft
Moisture is the quiet killer of warmth. Your breath and your sweat condense inside the bag as the night cools, and wet loft is dead loft, because water conducts heat away from your body far better than still air does. On the coldest nights I sleep with my face out of the hood and my head at the edge of the opening, so my breath goes into the tent air instead of straight down into the bag. It is a small change and it keeps the insulation dry.
In the morning I air the bag out before anything else. I hang it over a branch or a tent line in the sun while I make coffee, and that thirty minutes does more for the next night than any amount of drying at home. The JEAOUIA bag ships with compression sacks, and they are great for packing it down small in the back of the 4Runner. But I do not leave it compressed for weeks on end. For storage it hangs loose in the closet so the loft stays open and ready.
A couple of small habits round this out. I pee before bed, because getting up at 2 a.m. means standing in cold air and climbing back into a bag that has already lost its warmth. And I keep a little fat in the evening snack, a handful of nuts or some cheese, because food is what your body burns to make heat overnight. Neither habit is glamorous. Both have kept me warm more often than any gear upgrade I have made.
What Else Helps
Keep the bag off the tent wall. Tent fabric condenses moisture from your breath overnight, and if the bag touches it, that water wicks into the shell and then into the loft. A few inches of air gap is all it takes. I also crack the tent vents or the door a couple of inches before bed, even on cold nights, so the moisture has somewhere to go. A stuffy tent is a damp tent, and a damp tent makes a cold bag.
A hot water bottle at your feet is the oldest trick I know. I boil water, fill a wide-mouth bottle, wrap it in a sock, and tuck it near my feet when the night is genuinely cold. Feet are the first thing to go, and warming that end of the bag changes the whole night. Skip the boiling water if you do not trust the bottle; a hand warmer in the foot of the bag works almost as well. Just make sure whatever you use is wrapped so it does not touch your skin.
The pad under you matters more than the bag over you. On a thin pad, no amount of loft will save the night.
Do the steps in order, and the rating does the rest
A bag that holds its rating makes every step in this guide easier. The JEAOUIA cold weather bag has been my baseline for three seasons, and it still packs down clean. If you are ready to stop shivering through September nights, this is where I would start.
Amazon Check Today's Price on Amazon →