
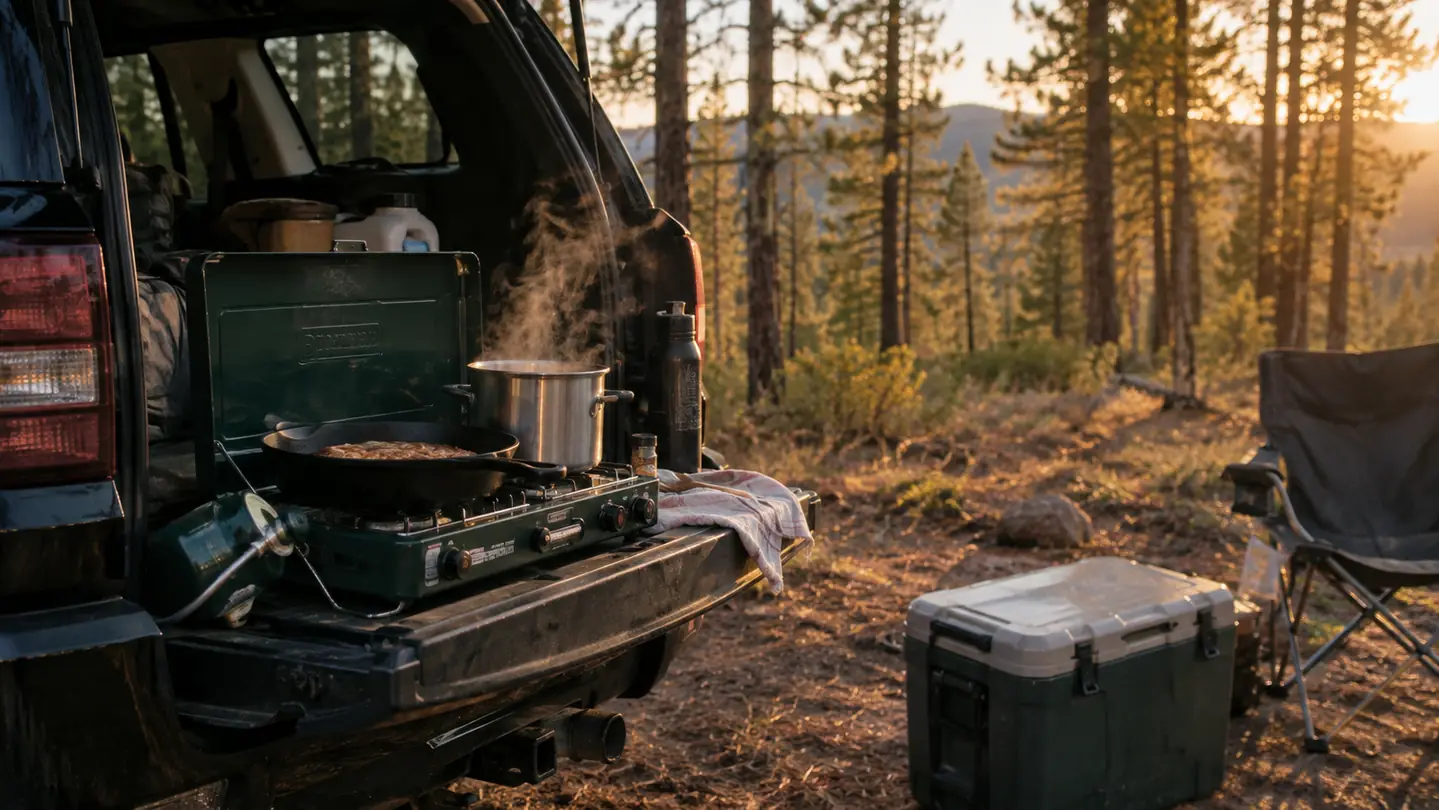
Most people who car-camp cook the way I did for the first fifteen years of my camping life: they eat worse at camp than they do at home. Cold sandwiches, burnt hot dogs, canned chili that tastes like the can. The problem is rarely the food and almost always the stove. Once I put a two-burner propane stove in the back of my 2013 4Runner, that changed. The Camp Chef Explorer I have used for six seasons is not a fancy piece of gear, but it does one thing well: it gives you two real burners that behave like the ones in your kitchen, which means you can cook actual meals instead of just heating things up.
Cooking a full meal at a car campsite comes down to planning, not talent. If you walk in with a menu and a bag of prepped ingredients, you can turn out a one-pot pasta, a skillet dinner, or a full breakfast in about the same time it takes at home. The stove itself is the easy part. The Camp Chef Explorer puts out sixty thousand total BTUs across two burners, which means it boils a three-quart pot of water in about six minutes on a calm day. That kind of output is why I stopped bothering with the single-burner backpacking stove at the car campsite. Over the years I have settled on five steps I follow on every trip, from choosing the menu to cleaning up so the stove still works a decade from now.
Cook real meals at camp, not reheated cans
The Camp Chef Explorer two-burner gives you two adjustable burners with enough output to boil water fast, and it runs on standard propane tanks you can pick up anywhere. If you are done eating cold sandwiches and canned chili, this is the stove that fixes it.
Amazon Check Today's Price on Amazon →Step 1: Plan meals around one pot and one pan
The fastest way to ruin a camp meal is to plan something that needs three burners and a second pair of hands. You have two burners and a cutting board the size of a book. Plan around that. I pick meals that use one pot and one pan, plus a cutting board and a knife, and that covers most of what you actually want to eat after a day of hiking. The goal is to feed two hungry people after a long day, not to put on a show.
A few of the meals I rotate through on weekend trips: a one-pot chili with canned beans and browned ground beef, pasta with jarred sauce and ground sausage, a skillet hash with potatoes and eggs, and foil packets of chicken and vegetables that steam in their own juices. Each one uses a single pan on a single burner at a time, which leaves the second burner free for coffee or a pot of water.
Write the menu before you leave. I keep a running list on my phone with the meal for each night and the ingredients for each one. It takes ten minutes at home and saves an hour of standing over the cooler at dusk trying to decide what to cook. The planning is the whole ballgame. The cooking is easy once the plan exists.
Step 2: Prep everything at home before you drive
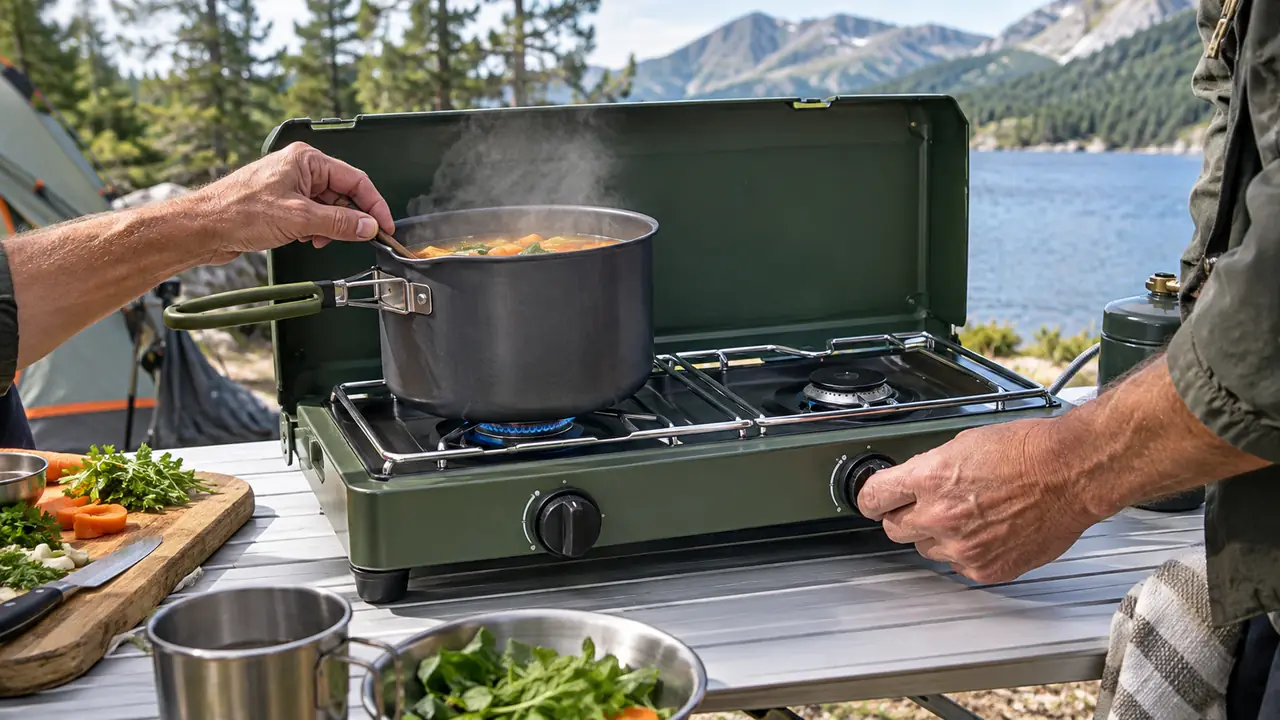
The single biggest mistake new camp cooks make is bringing raw ingredients and expecting to chop, dice and season at the campsite. That is how dinner takes two hours and why everyone ends up eating hot dogs again. Do the prep at home. Chop the onions, dice the peppers, brown the ground beef, and mix the spice blend into a labeled bag. If you would not do the prep at home, you are not going to do it at a dusty campsite after a six-mile hike.
I portion everything into one-meal bags. For chili night, the bag holds the browned meat, the chopped onion, the spice mix, and the can of beans sits right next to it in the cooler. At camp, I dump the bag into the pot, add the beans and a little water, and it is basically done. Prep takes half an hour at home on a Saturday morning and turns every camp dinner into a fifteen-minute job.
The same rule applies to breakfast. I mix pancake dry ingredients into a bag and add the wet ones at camp. I pre-cook bacon at home and reheat it in the pan. I even pre-chop the potatoes for hash and keep them in a water-filled container in the cooler so they do not turn brown. Everything that can be done on the kitchen counter gets done on the kitchen counter.
Step 3: Set the stove on a stable, level surface with wind protection
A two-burner stove wants a flat, stable surface at a comfortable height. I set mine on the fold-down tailgate of the 4Runner with a piece of plywood under it, or on the picnic table if the table is level. Never set it on the ground. You will spend the whole meal bent over, and the heat will bounce back at the burner, which is hard on the stove over time.
Wind is the real enemy of camp cooking. A steady breeze can double your boil time and blow out a low flame at the worst moment. I carry a folded piece of aluminum flashing, about eighteen by twenty inches, and lean it against a couple of rocks on the windward side of the stove. It is the difference between a fifteen-minute boil and a forty-minute boil. The Camp Chef stove has a built-in windshield that helps, but on exposed sites in the high desert it is not always enough.
Level matters more than people think. A stove that tilts toward the front pools oil on one side of the pan and makes a simmer impossible. I carry a small folding level, about four inches long, and a couple of flat rocks for shimming. Thirty seconds of leveling saves a whole meal of frustration.
Step 4: Sequence the cooking across two burners
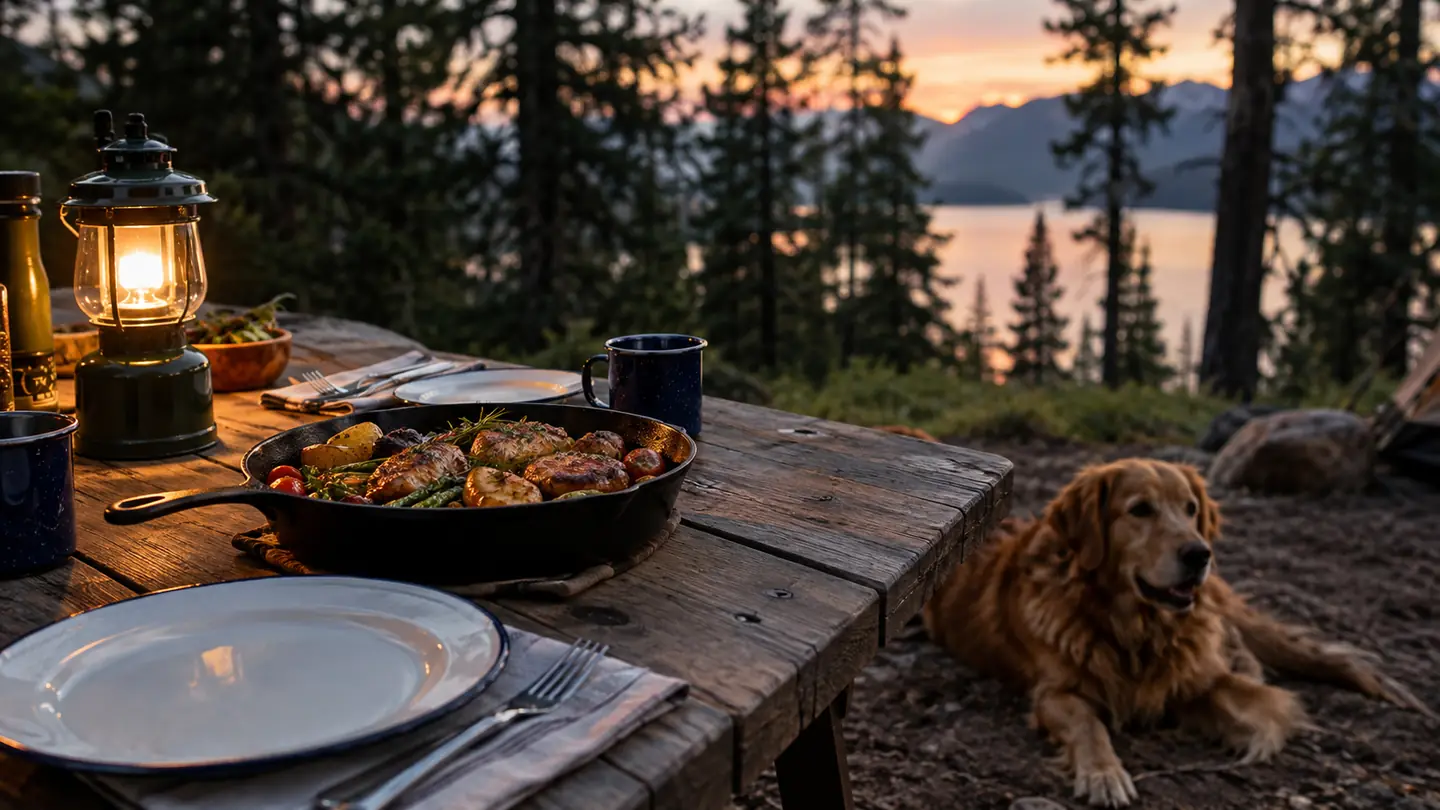
The trick to a full meal is using both burners the way a kitchen does: one for the main dish and one for the side or the water. I start the water boiling on the back burner while I brown the meat on the front. By the time the meat is done, the water is ready for pasta or rice. Everything lands at the same moment instead of in a sad sequence of cold food.
For a skillet dinner, I start the potatoes first because they take the longest, then add the meat, then the vegetables, and finish with eggs or cheese at the end. The second burner holds the coffee or a pot of water for cleanup. On a cold night at elevation, I also use the second burner to warm water for a hot drink while dinner finishes, so nothing sits around. Get to know the stove's heat settings. The Camp Chef Explorer has a wide flame range, and once you find where the simmer setting lives, you can hold a pot at a gentle bubble instead of a rolling boil.
Covering the pot changes everything. A lid traps the heat and cuts cooking time by a third, which matters when the wind is up and the tank is getting low. I carry one pot with a tight-fitting lid and use it for everything that boils. A lid also means the beans and pasta stay hot while the main dish finishes on the other burner.
Step 5: Clean up the right way so the stove lasts a decade
A propane stove that gets wiped down after every trip will outlive you. After each meal, I let the grates cool, scrape them clean, and wipe the top with a damp cloth. Once a season, I pull the grates off and brush the burner tubes gently to clear the crumbs and grease that collect there. A clogged burner tube means uneven flames and longer boil times, and it is the most common reason a good stove starts cooking badly.
I keep the stove in its carry bag in the back of the 4Runner all season long. The bag is not waterproof, so I never leave it out in the rain, and I dry the stove before it goes back in. When the tank runs low, I swap in a fresh one and keep a spare in the truck. This is the third season on the same Camp Chef unit, and apart from some discoloration on the grates, it looks and cooks like the day I bought it.
Do not be precious about it. This is a working tool, not a display piece. It gets scratched, the paint chips at the corners, and the grates wear down. That is fine. What kills a stove is grease buildup and moisture, not honest use. Wipe it, dry it, keep the burner tubes clear, and you will hand it down rather than replace it.
What Else Helps
Three small things make camp cooking dramatically easier. A 10-inch cast iron skillet that stays seasoned and never sees soap does double duty as pan and serving dish. A sharp chef's knife, not the cheap folder from the tackle box, makes prep painless. And a windproof lighter beats the built-in igniter whenever the igniter is damp. None of these cost much, and they are the difference between a frustrating chore and something you look forward to.
A folding camp table is worth it if you usually end up on an uneven site. It gives you a level, waist-high surface anywhere, and it packs flat against the side of the truck. I bought one after a weekend at Smith Rock where every picnic table was taken by noon. Now it lives in the 4Runner with the stove and the cast iron, ready every trip.
One more thing: bring more propane than you think you need. A two-burner stove running a full meal uses a surprising amount of fuel, and running out halfway through dinner is the most avoidable failure in camp cooking. I carry one full tank on the stove and a spare in the truck, and I top off the spare before every trip. It is cheap insurance.
The difference between a real camp dinner and a cold sandwich is thirty minutes of prep at home, not talent at the stove.
The Bottom Line
After six seasons of cooking on this stove, I can tell you the thing nobody puts in the spec sheet: the whole system is only as good as the prep you bring with you. The stove turns out consistent heat every single time. What makes the dinner good is the menu you planned and the bag you packed at home. Get those two things right and a two-burner propane stove will feed you better at camp than most people eat on a Tuesday night at home. I have burnt my share of dinners over the years, and every one of them was a planning failure, not a stove failure.
The Camp Chef Explorer is not the lightest stove and it is not the most compact. It is a box that does one job without complaint, season after season. For anyone who car-camps and wants to eat real food at the campsite, that is exactly the trade worth making.
Done eating cold sandwiches at camp
The Camp Chef Explorer two-burner stove has cooked every meal on my last six seasons of weekend trips. It is durable, simple and easy to clean, and it makes a full camp dinner as easy as cooking at home. If you are ready to cook real food at the campsite, this is the stove to start with.
Amazon Check Today's Price on Amazon →