
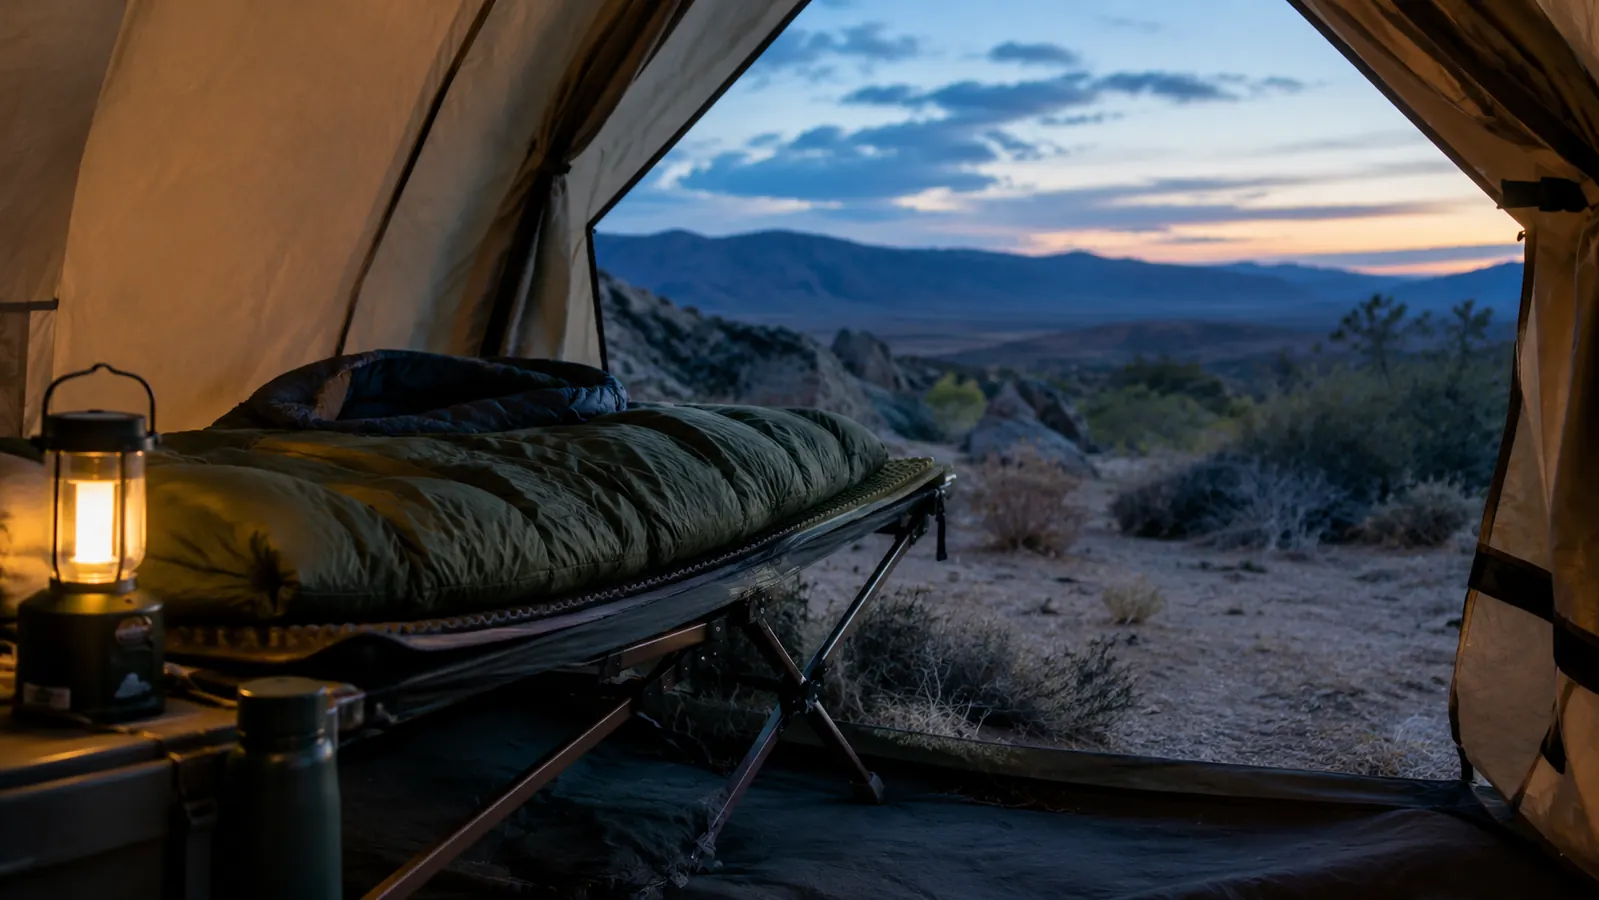
Somewhere around 35 degrees, a cot stops being the best bed in camp and starts working against you. That is the first thing I learned sleeping on the Coleman Trailhead II in the high desert east of Bend. The cot gets you up off the cold ground, which is a good thing, especially on a rocky campsite where the ground is all roots and gravel. But it also hangs you in open air, and that air moves underneath you all night long. Moving air pulls heat off your back faster than still ground ever will, which is why so many people swear off cots after one cold trip and go back to sleeping on the ground, shivering and sore. The problem is not the cot. It is how it was set up.
The fix is not a heavier sleeping bag, and it is not a thicker one. It is how you set the cot up in the first place, and what you put between the fabric and your sleeping bag. I have spent three Septembers testing this setup on 30-degree nights in the desert and up in the Three Sisters country, and the difference between a miserable 4 a.m. and a full night of sleep is about twenty minutes of work before dark. Here is the order I use now, start to finish. It has not changed in years, and it has not failed me in years either.
Start with a cot that holds a locked frame and a taut bed
The Coleman Trailhead II has been my cold-night cot for years. It sets up in minutes, holds a flat bed, and gives the insulation stack underneath you a solid surface to work on.
Amazon Check Today's Price on Amazon →Step 1: Pick the spot and level the ground before you assemble anything
The cot's whole job is to hold you off the ground, but it cannot do that on a slope. Walk the tent floor before you stake anything. Find the flattest patch, then run the cot so its long side follows the slope instead of crossing it. If the ground tilts at all, your hips will slide toward the low side by 3 a.m. and you will spend the rest of the night fighting the fabric instead of sleeping. On a level spot, the cot does its job and you forget it is there.
Give the cot a hand's width of clearance from the tent wall. On a cold night your breath makes condensation on the fly, and if the cot presses against the fabric, that dampness soaks into your bag at the shoulder. Clearance costs you nothing and it saves you a wet quilt. I have woken up to a soaked shoulder exactly once, and it was because I shoved the cot tight against the wall to save floor space. I never did that again.
Face the head of the cot away from the prevailing wind. Even inside a tent, the door side runs colder and draftier than the back wall. Set up with your feet toward the door and your head toward the back of the tent, and you will feel the difference at 2 a.m. when the wind comes up off the desert. On the nights I get this backwards, I know it by about 1:30, when the draft starts moving across my neck.
Step 2: Assemble the cot so the frame is locked and the fabric is taut
The Coleman Trailhead II assembles in the same few minutes every time, but how you seat the frame matters more than how fast you do it. Make sure every leg is fully extended and the locking mechanism clicks before you let the fabric take any weight. A leg that is half locked will fold on you at the worst possible hour, usually around 3 a.m. when you turn over. Take the extra ten seconds to check each leg, and you never think about it again.
Then test the bed before you build anything on it. Press down on the center of the fabric with your knee. It should hold firm with no sag and no wobble. A taut bed is what keeps your hips from sinking, and a sinking bed is what crushes the insulation underneath you. This cot is rated for adults up to 6 foot 2 and 300 pounds, and at my 220 it does not flex at all. That flat, firm surface is what the whole warm setup depends on.
If the cot rocks on an uneven spot, shim the low leg with a flat rock or a folded camp chair mat rather than trying to level the whole tent. You want the frame solid before you add a single layer, because everything after this step depends on the bed staying flat. A wobbling cot will slide your pad around all night and undo the work of the next three steps. Ten minutes of shimming saves you eight hours of sliding.
Step 3: Insulate under you, not just over you
This is the step most people skip, and it is the whole reason they wake up cold at 4 a.m. A cot hangs you in the air, and air under you is colder than the ground, because the ground holds the day's heat while the air gives it up fast once the sun drops. Your sleeping bag cannot help underneath, because your weight flattens its loft to nothing where it matters most. The bag does all its work on top of you and none of it under you.
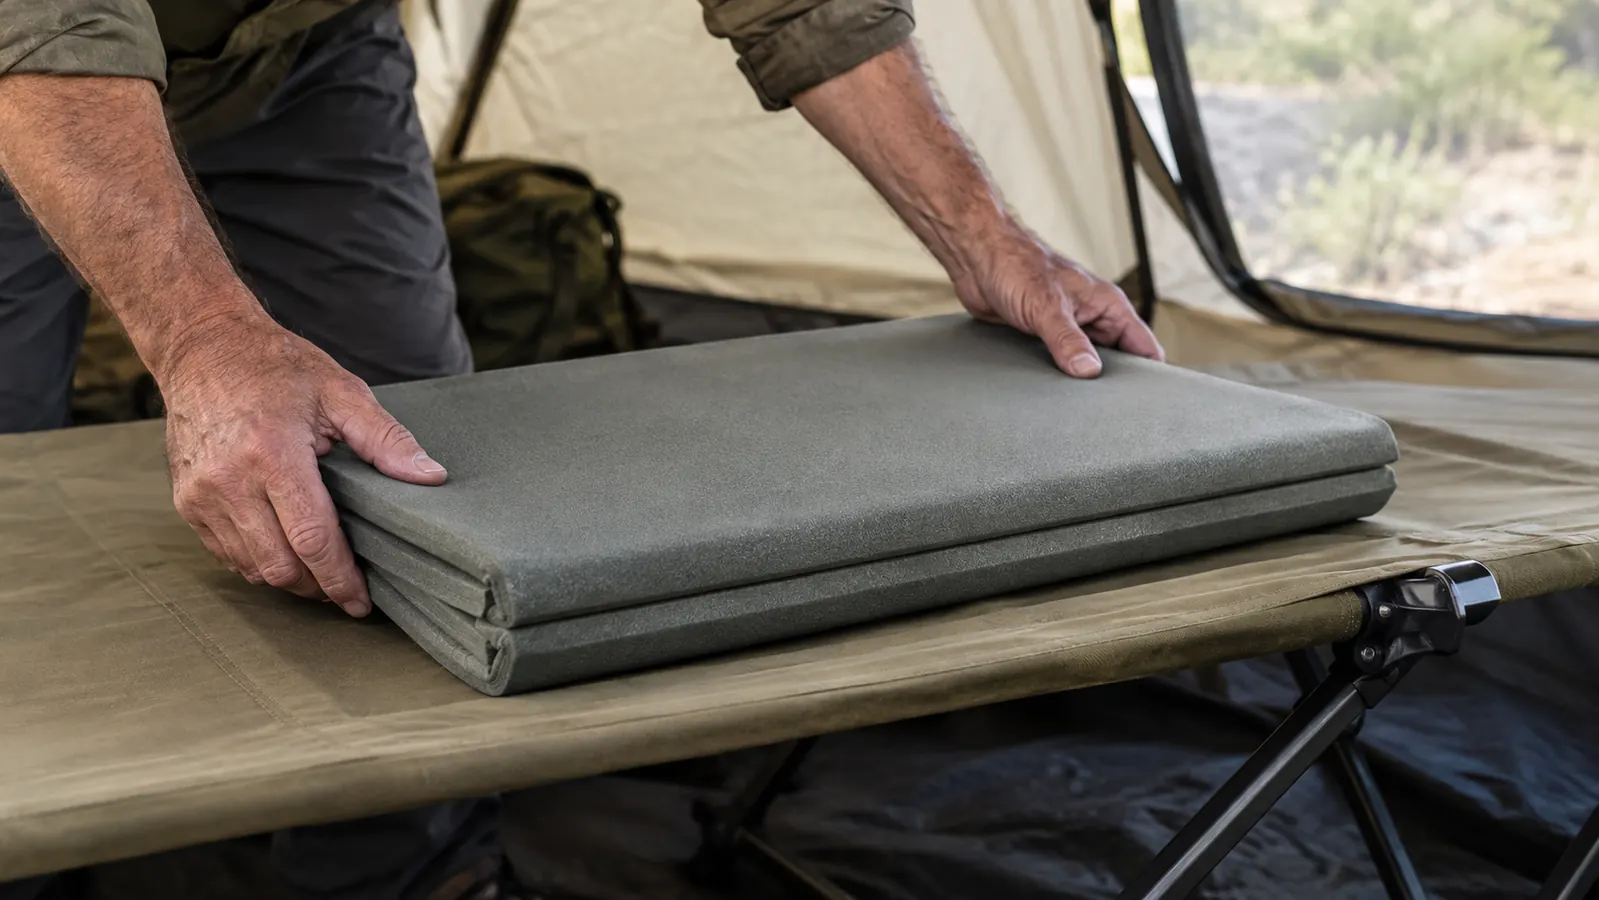
The fix is a closed-cell foam pad laid on the cot, the same kind of pad hikers carry for backpacking. It adds an inch of dead air between you and the fabric, and dead air is what insulation actually is. I lay a folded closed-cell pad on the cot first, then add a thin reflective blanket underneath it to bounce body heat back up. The two together weigh almost nothing, they roll up small, and they change the whole night. I will not sleep on a bare cot anymore, at any temperature.
An inflatable pad works too, and some people prefer the extra cushion. But a closed-cell pad is more forgiving on a cot because it cannot puncture, it does not slide around, and it does not lose air at 2 a.m. I have used both, and the closed-cell version is the one I reach for whenever the forecast says freezing. It is also the cheapest piece of gear in my whole setup, which says something about where the warmth actually comes from.
Step 4: Build the sleep system in the right order on top of the pad
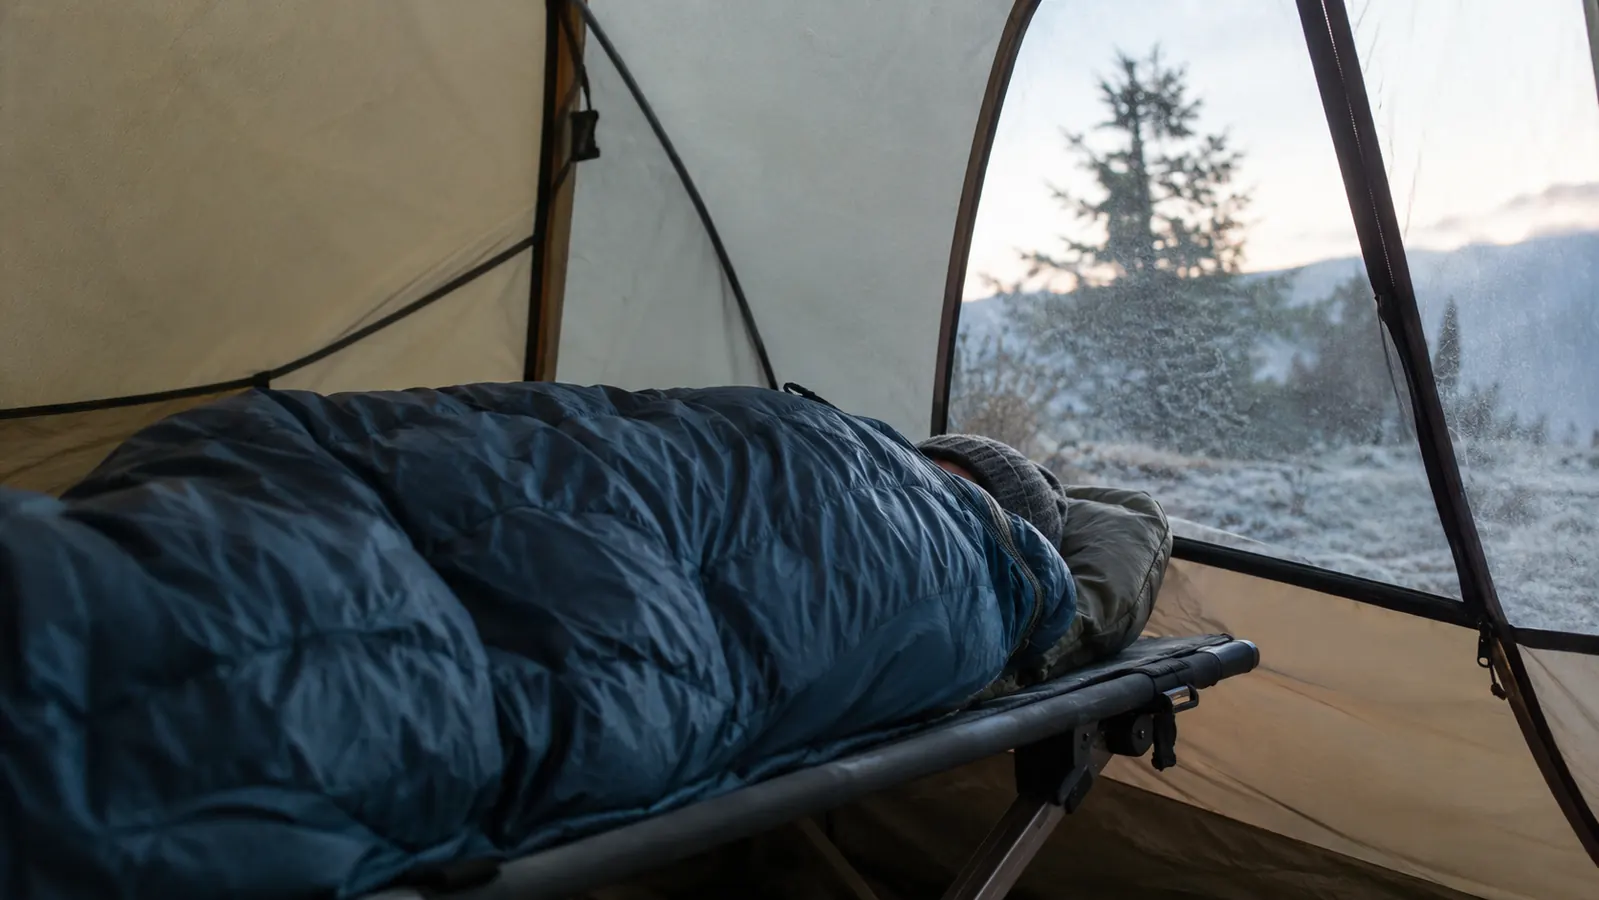
Once the pad is down, your sleeping bag or quilt goes on top of it, never directly on the cot. The order matters, and I have stopped trying to cut corners on it. Cot, then closed-cell pad, then reflective layer, then your bag. That is the whole stack, and it is the difference between waking at 4 a.m. shivering and waking at 7 a.m. stiff but warm and ready for coffee. It takes about two minutes to lay down the whole stack once the cot is up.
Inside the bag, keep a base layer on, pull dry socks on, and wear a light hat. I keep a spare fleece at the foot of the cot and reach for it when the temperature slides past 25. In the high desert the cold comes in fast after midnight, so plan for the coldest hour of the night, not the warm hour when you first climb in. If you are comfortable when you zip up, you have probably dressed down too far.
Do not cinch the bag tight at your feet until you are actually cold. A snug footbox is good, but a bag that is sealed too early traps your own sweat, and damp is what chills you on a cold night. Let the bag breathe for the first hour, then button it up. This sounds like a small thing, but dry sleep is warm sleep, and a damp bag is the fastest way to a miserable night on any cot.
Step 5: Seal the edges so the cold air under the cot cannot circulate over you
The air under the cot is still going to be cold, and you cannot stop that. What you can stop is that air circulating up over your sides. Tuck a jacket or a spare blanket over the edges of the cot where the bag meets the fabric. A folded fleece along the side rail is enough to seal the gap and keep the cold air moving underneath instead of over your shoulder. I keep a dedicated edge blanket in the same stuff sack as the cot so it is always there.
Crack the tent vent a finger's width, even on the coldest night. It sounds backwards, but a sealed tent traps the moisture from your breath and your body, and that damp condenses on the fly and drips back down onto your bag. A little airflow keeps the inside dry, and dry is warm. I would rather have a faint draft across my face than a wet quilt across my shoulders. Venting is the detail everyone skips.
I check the seal one more time right before I climb in, because I have been too tired to bother and paid for it at 3 a.m. Twenty seconds of tucking, then a full night. That is the whole discipline of a warm cot: do the small work before dark, when it is easy, and the night takes care of itself. After a few trips it becomes habit, and you stop even thinking about it.
What Else Helps
A couple of extras push the setup over the top. A wide-mouth bottle filled with warm water at the foot of the sleeping bag adds a pocket of heat that lasts most of the night, and you can drink it in the morning. A second cheap foam mat under the cot, on the tent floor, keeps the air pocket underneath a little less cold by stopping the ground from chilling the tent floor beneath you. Neither one costs much, and both are easy to pack.
Eat something before you climb in. Your body burns fuel to stay warm, and a snack of trail mix or a bar gives it something to work with through the night. And do the whole setup before dark. Fumbling with a cot and a pad by headlamp in a 30-degree wind is how you end up skipping the insulation step, and that is the one step you cannot skip. Warmth is mostly planning, and planning is mostly doing it while the light is good.
If you want the full picture of how the Trailhead II holds up over years of weekend use, there is a longer review on this site that goes into the frame, the fabric, and what finally wears out. The short version is that it is the cot I keep reaching for, season after season, and I do not say that about much gear. It is not the lightest cot you can buy, and it is not trying to be.
With the closed-cell pad and the reflective layer under me, I stopped waking at 4 a.m. shivering. That one change was the whole difference between a cold night and a good one.
Set up right, this cot carries you through a decade of cold nights
The Coleman Trailhead II has held up through years of desert and mountain weekends. It is the bed I build the whole insulation stack on, and it has never let me down.
Amazon Check Today's Price on Amazon →